
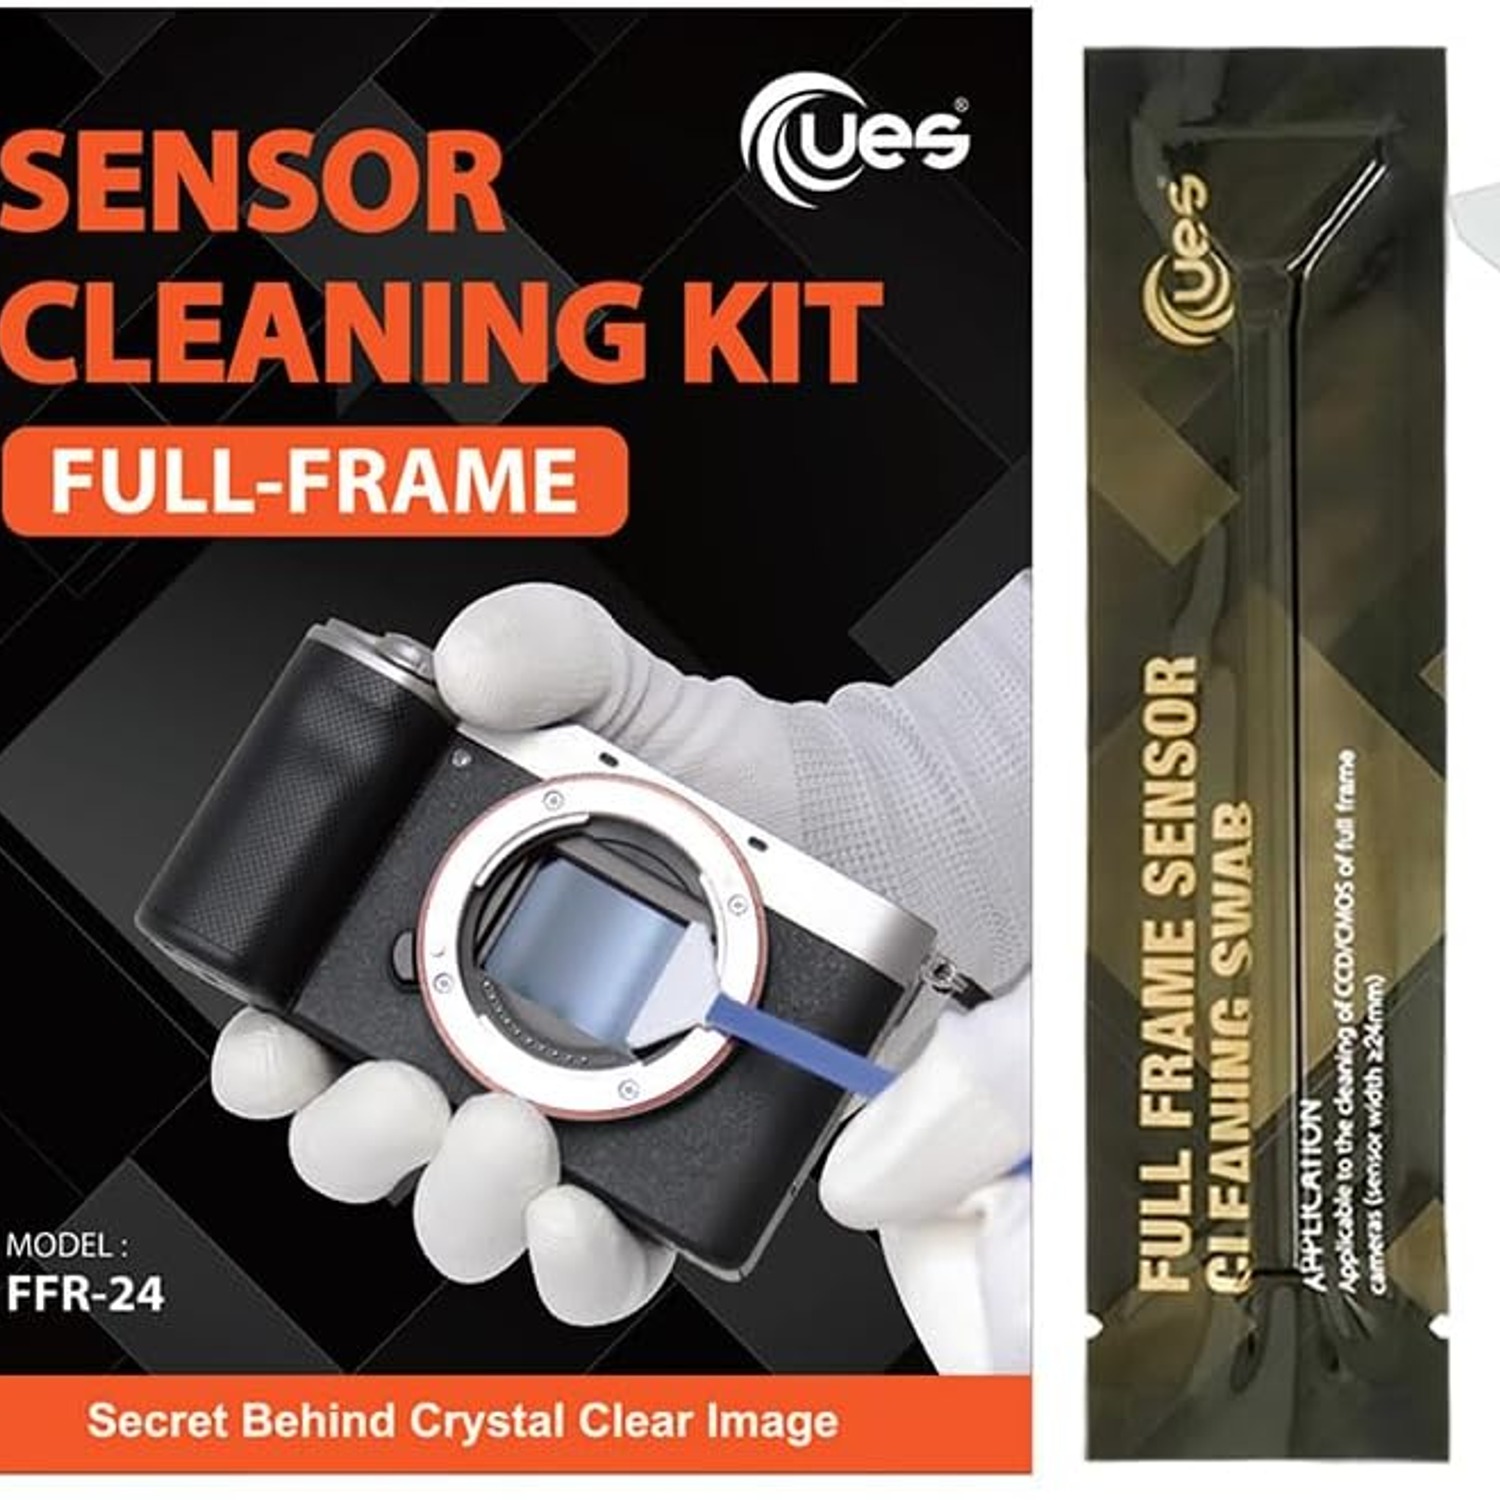

The complete guide
How To Choose And Use A Full Frame Sensor Cleaning Kit
The problem nobody warns you about
You buy a full-frame camera. It is sharp, it handles low light beautifully, and for the first few months everything is perfect. Then one afternoon you are editing a landscape shot at f/16 and you notice them. Soft grey smudges in the sky. Four or five of them, always in exactly the same place, frame after frame.
That is sensor dust. It gets in every time you change a lens, and it gets in faster if you swap lenses outdoors, near the sea, or in a car park on a breezy day. Mirrorless bodies are especially prone to it because the sensor sits right behind the mount with nothing in front of it.
The frustrating part is that it is invisible at wide apertures. Shoot at f/2.8 and the dust blurs away. Stop down to f/11 or f/16 for depth of field, which is exactly what you do for landscapes and architecture, and every speck sharpens into a visible blob. So the problem only shows up in the shots you care most about.
What a wet swab actually does
Most people start with a blower bulb, and that is the right first step. A few firm puffs with the sensor facing down will dislodge loose particles and send them out of the chamber. For fresh dust it often works.
What a blower cannot do is remove anything sticky. Oil mist from the shutter mechanism, pollen, salt spray, condensation residue, these all bond lightly to the filter glass over the sensor. Air pushes right past them. You need a solvent and a soft surface to lift them away, and that is a wet swab.
Worth clearing up a common worry: you are not touching the actual silicon sensor. There is a stack of filters bonded over the top of it, usually including an infrared cut filter and a protective cover glass. That stack is what you clean. It is hard, flat glass, and it is more forgiving than the word "sensor" suggests. That said, it is coated glass, so technique still matters.
Why 24mm is the number to look for
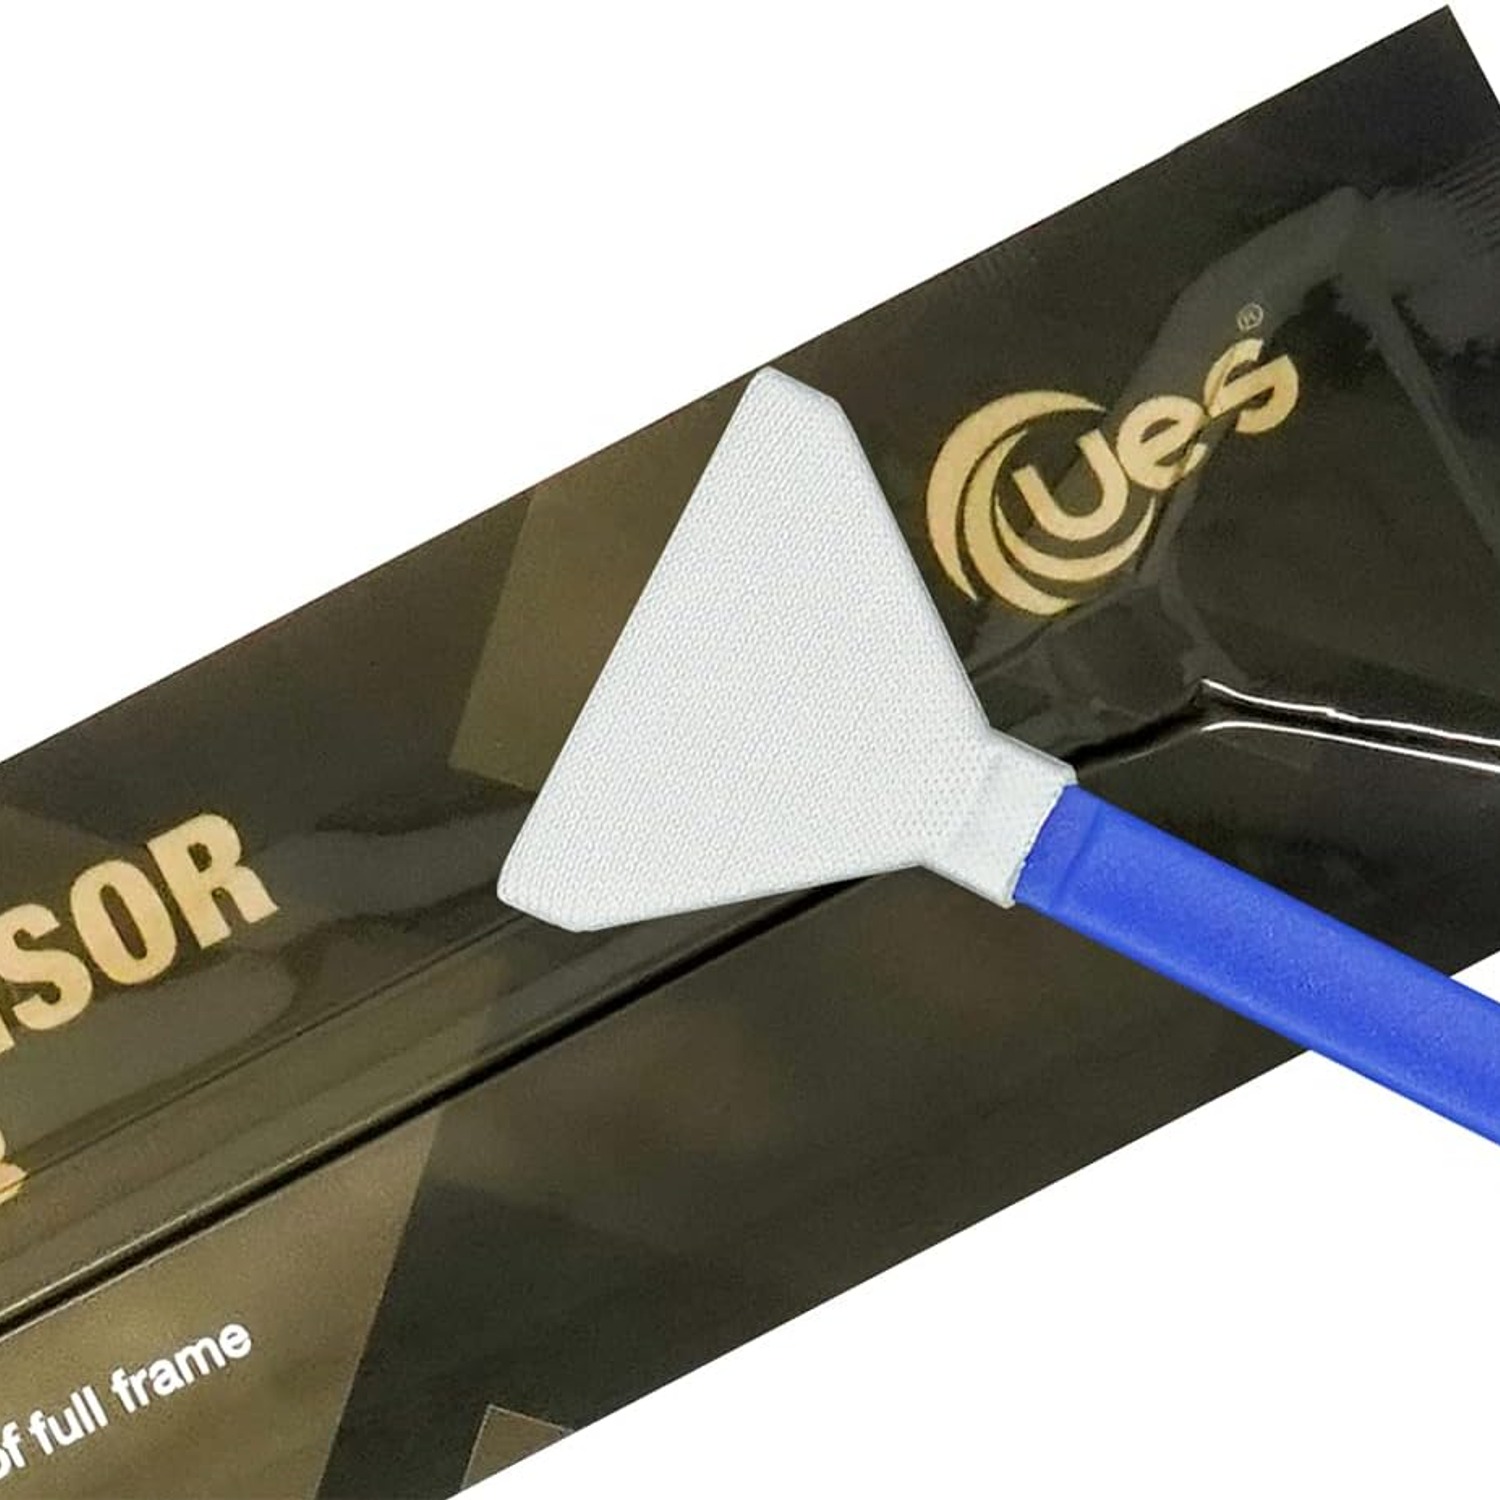
Sensor swabs come in different widths, and the width needs to match your sensor height. A full-frame sensor measures roughly 36mm by 24mm. The 24mm dimension is the short side, and that is the direction the swab head spans as you sweep it horizontally across the glass.
Get this right and one pass covers the entire surface. Get it wrong and you are in trouble in two directions. A swab that is too wide will not fit the chamber, or it will catch on the sensor housing and bunch up. A swab that is too narrow forces you to make a pass along the top and another along the bottom, and the overlap zone in the middle is where streaks and dragged particles live.
This kit uses a 24mm head for exactly that reason. If you also own a crop-sensor body, you will want a narrower kit for that camera, usually 16mm. The best camera sensor swabs are the ones sized for the body in your hand, not the ones that were on offer.
The two-pass method
The technique is simple enough to describe in a paragraph, which is part of what makes it approachable for first-timers.
Charge your battery fully. A camera that powers down mid-clean with the shutter open is a bad day. Put the camera into its sensor cleaning or manual cleaning mode, which locks the mirror up and holds the shutter open. Work in a room with no drafts, no fan, and no open window.
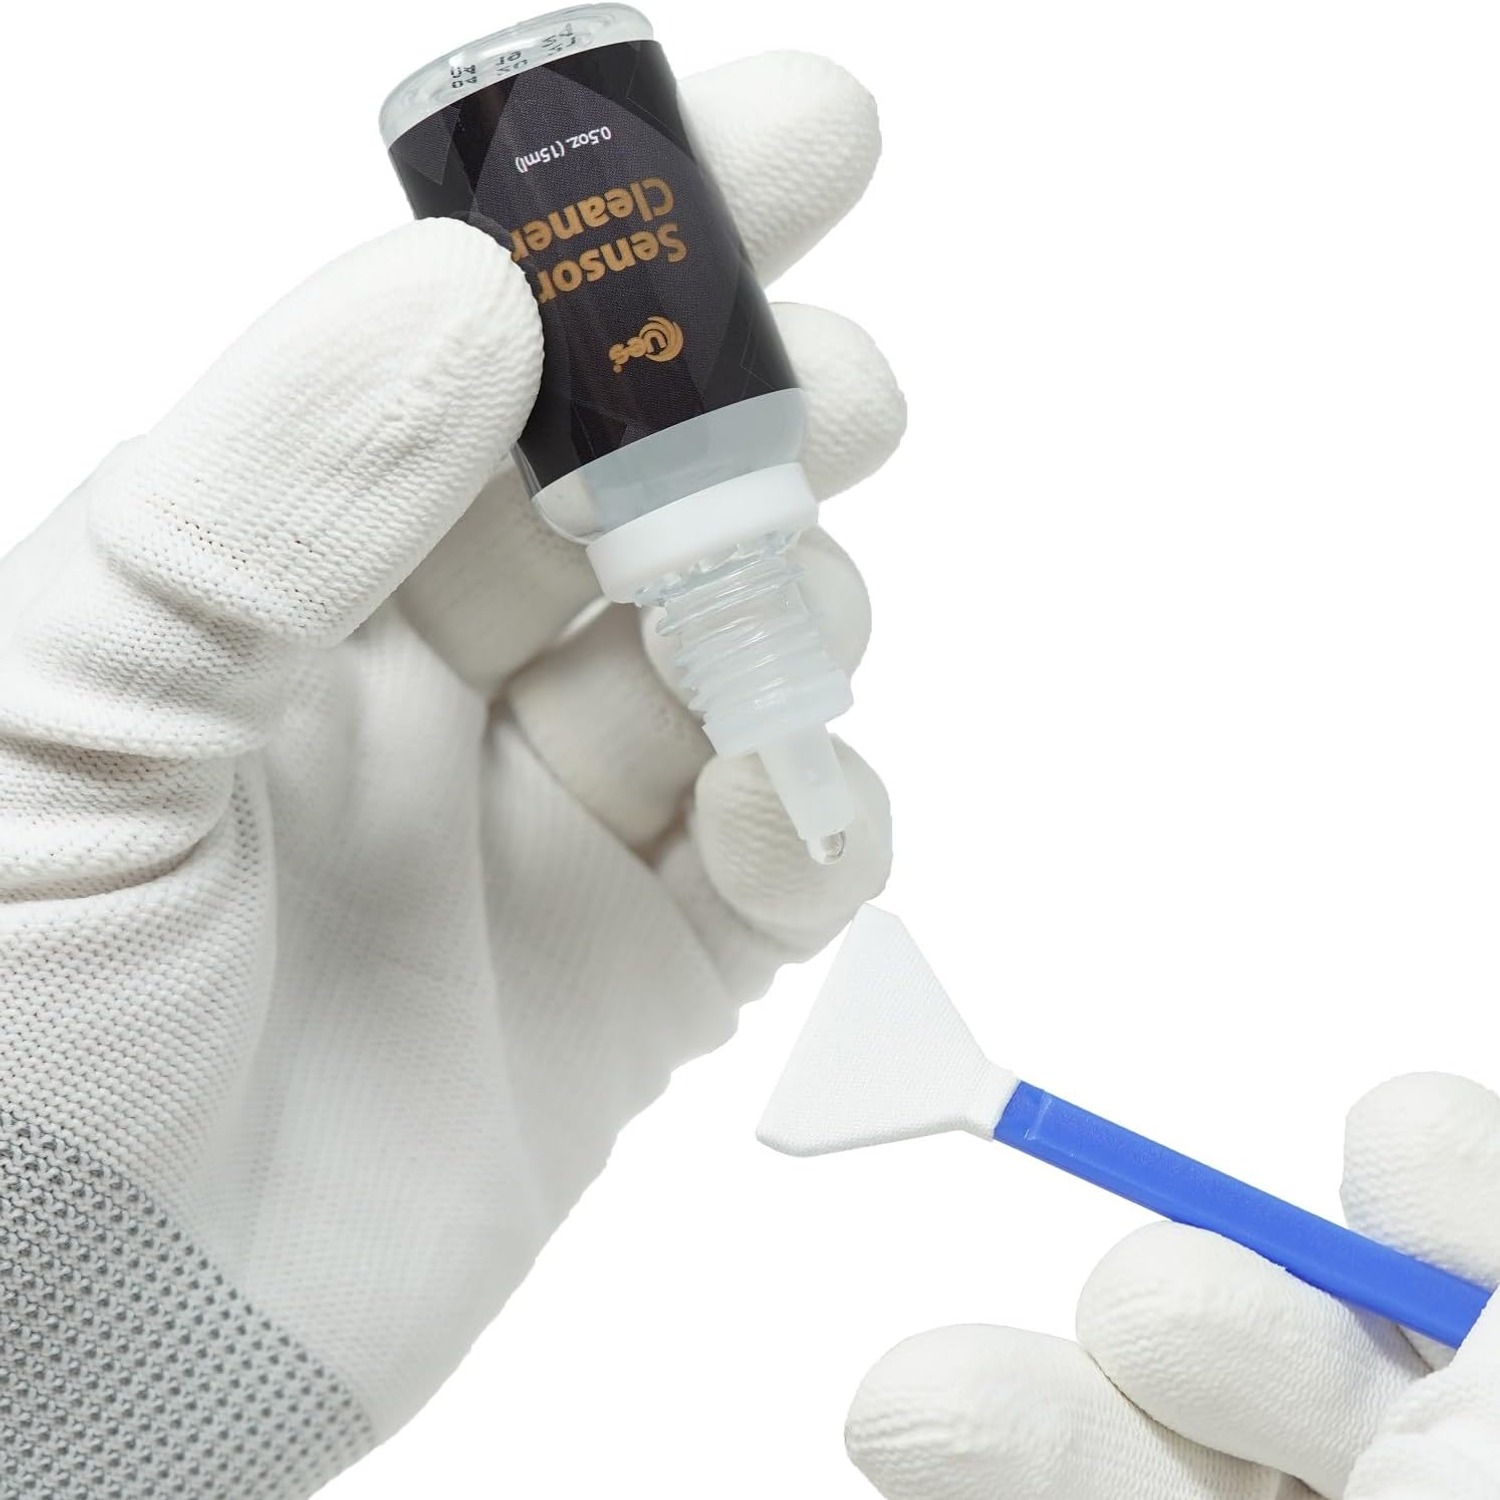
Open one swab packet at the end, pull the swab out by its handle, and do not touch the microfiber head with your fingers. Add one drop of the cleaning solution to the edge of the head. One drop. The temptation is always to add more, and more is what causes streaking.
Hold the camera facing you with the sensor roughly vertical. Place the swab flat against one edge of the sensor, apply light steady pressure, and sweep straight across to the other side in a single motion. Do not stop in the middle. At the far edge, lift, flip the swab over to the clean side, and sweep back the other way. Lift off. Done. Throw the swab away.
Then test. Photograph a plain bright surface at your smallest aperture, slightly defocused, and look at the result at full zoom. Usually it is clean. If one stubborn mark survives, use a fresh swab rather than going again with the used one.
Who this kit suits
If you change lenses regularly, you need something like this eventually. There is no version of interchangeable-lens photography where dust stays out forever.
It is worth having if you shoot landscapes, architecture, product work, astrophotography, or anything else that lives at small apertures, because those are the genres where dust is most visible. It is also worth having if you travel, since posting a camera to a service centre from the road is not realistic.
Studios and rental operations get the most obvious value. Fourteen sealed swabs means you can do a quick check and clean between hires without rationing. The best camera maintenance kit for a business is the one that sits on a shelf ready to go rather than the one that has to be ordered in.
If you only own one lens and never take it off, you can skip this for now. Dust still gets in through the lens barrel over years, but at a much slower rate.
Choosing between kits
A few things actually separate one kit from another.
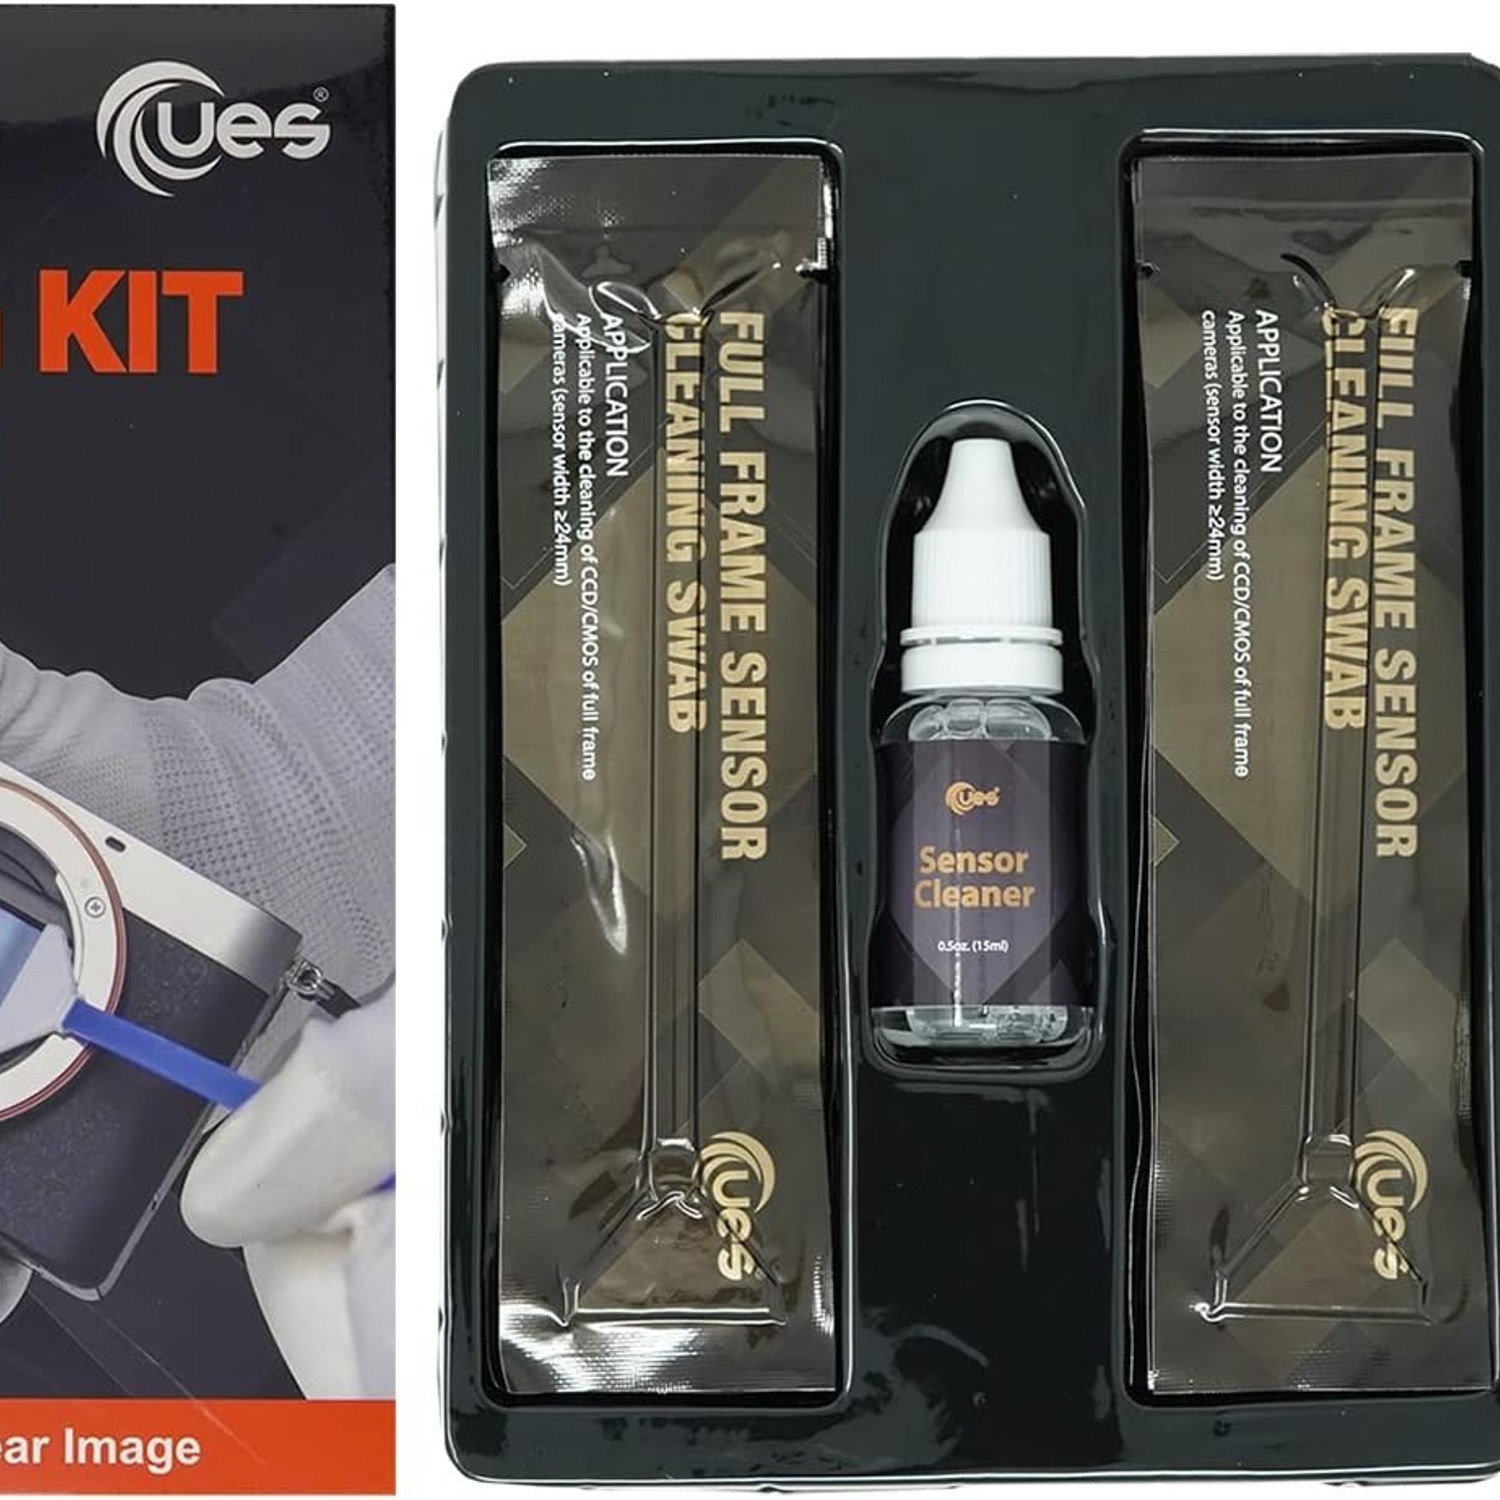
Swab width, as covered, is the first filter. After that, look at whether the swabs are individually sealed. Loose swabs in a shared sleeve pick up fibres from the packaging itself, and a stray fibre on your sensor is just as irritating as the dust you came to remove. Individual sealing is not a marketing detail, it is the difference between a clean result and a frustrating one.
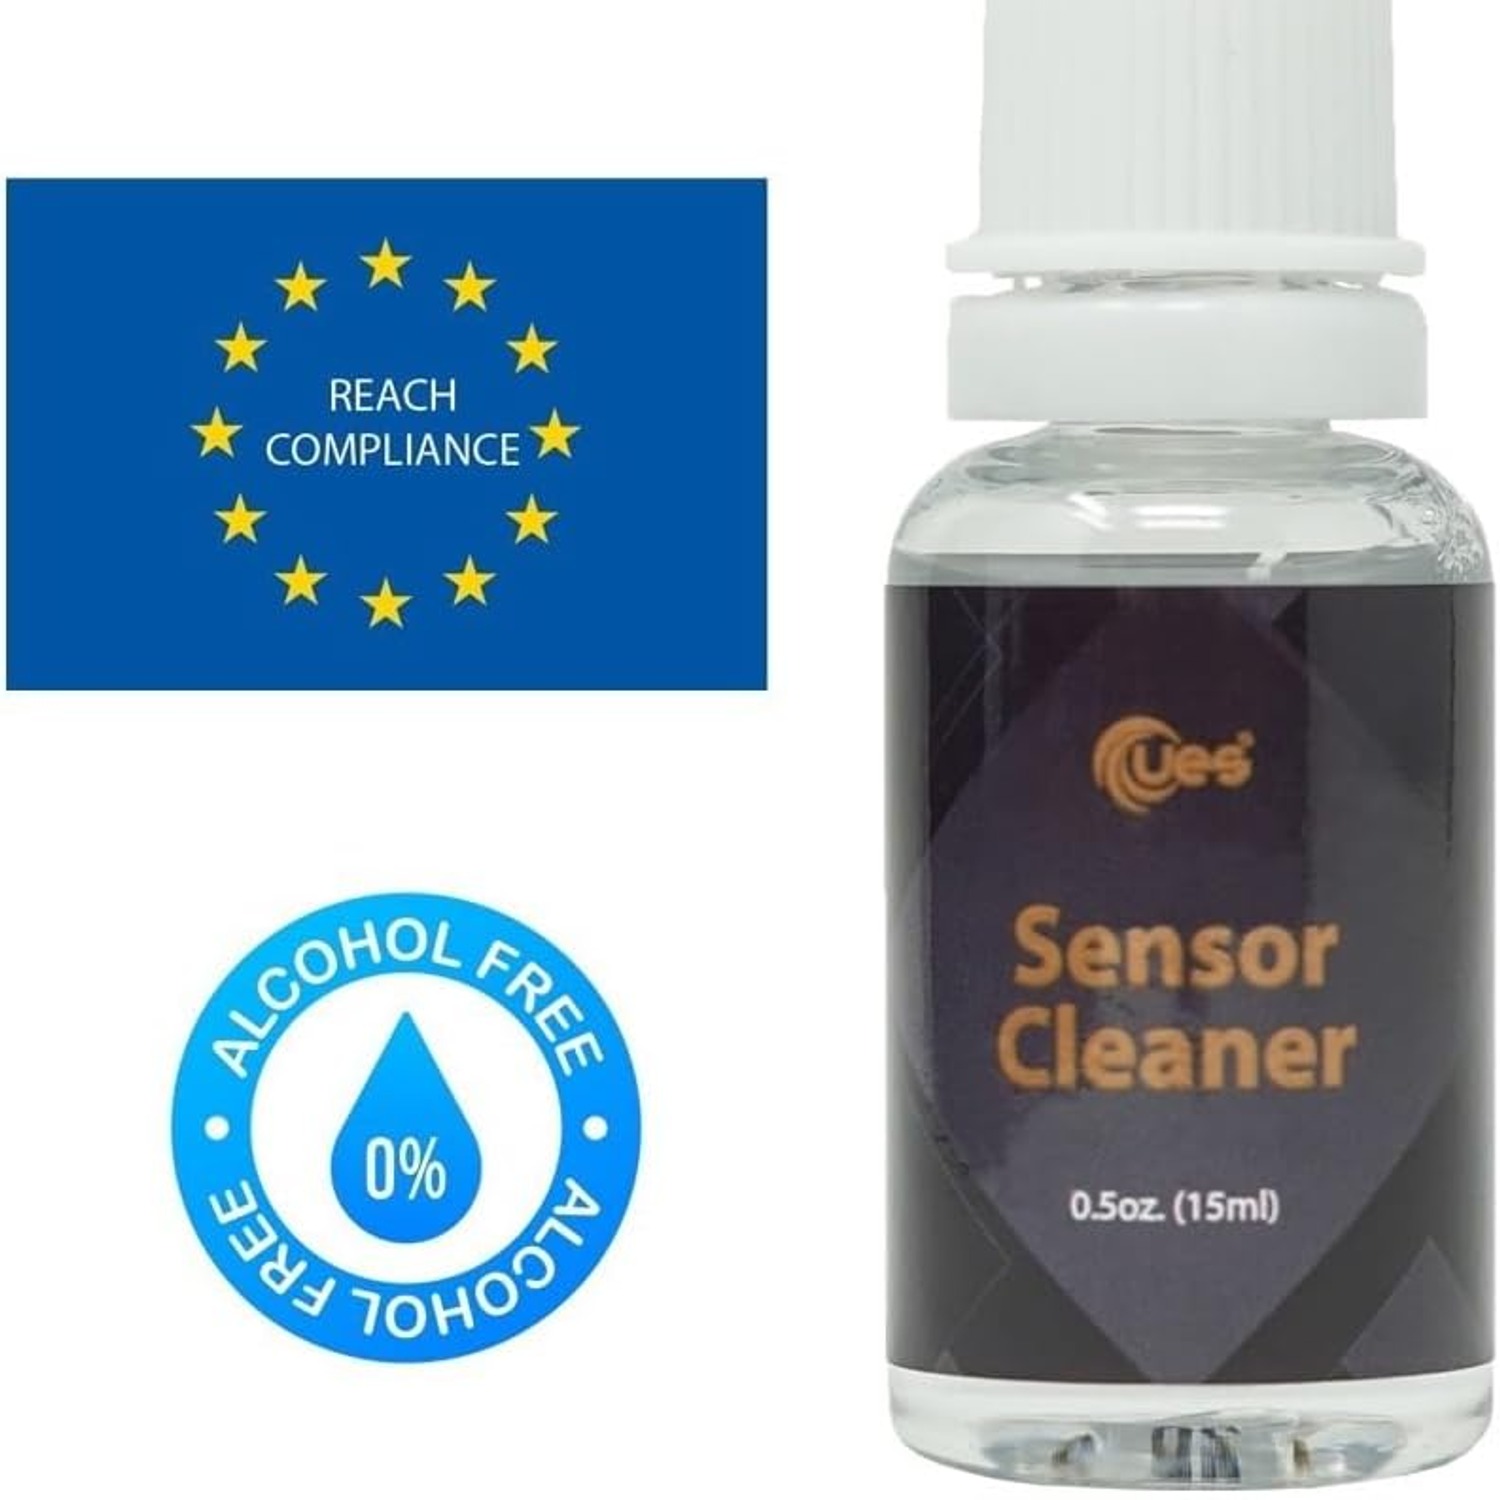
Fluid type matters next. Alcohol-free solutions, like the 15ml bottle here, are a common choice for coated sensor stacks. Some photographers use methanol-based fluids, which evaporate faster but are harsher to handle and more restricted to ship.
Then check swab count against your realistic use. Fourteen is generous for a single-camera owner and reasonable for a two-body setup. Finally, consider the handle. A flexible handle spreads pressure evenly across the head, which is what stops you from pressing hard on one corner and leaving a line.
Looking after the kit
There is not much to it. Keep the sealed packets flat and dry, out of direct sunlight, and away from anything that might puncture the foil. A side pocket in a camera bag works fine.
Keep the solution bottle upright with the cap screwed down tight. The fluid will evaporate slowly if the cap is loose, and a half-empty bottle of concentrated residue is not what you want on a sensor. If the liquid ever looks cloudy or has visible particles, bin it.
Never try to wash and reuse a swab. The whole design assumes a single use, and a laundered microfiber head is both contaminated and no longer flat.
When to call a technician instead
Home cleaning handles the vast majority of cases. There are a couple of times it does not.
If you can see a scratch, a crack, or anything that looks like damage rather than debris, stop and get it looked at. If you have swabbed twice with fresh swabs and a mark has not moved at all, it may be inside the filter stack rather than on top of it, and no amount of swabbing will reach it. And if the camera is brand new and under warranty, check the warranty terms before you open the chamber, since some manufacturers have views on this.
The short version
Dust on a full-frame sensor is normal, it is annoying, and it shows up worst in your most careful shots. A blower handles the loose stuff. For everything that sticks, you need a wet swab sized to your sensor.
This kit gives you fourteen individually sealed 24mm swabs and a 15ml bottle of alcohol-free solution, which covers roughly seven to fourteen cleaning sessions depending on how thorough you are. The method is one drop of fluid, one pass across, flip, one pass back, discard. It works with Sony, Nikon, Canon and other full-frame DSLR and mirrorless bodies with CMOS or CCD sensors.
Keep one in the bag. The first time you spot dust the night before a shoot, you will be glad it is there.