
The complete guide
How To Choose A Lightweight Camera Backpack That Actually Fits Your Kit
The problem with most camera bags
Camera bags tend to fail in one of two ways. The first type is too small. It takes your body with a lens attached and maybe one spare, and the moment you buy a telephoto or a flash, the bag is finished. The second type is too big. It swallows everything, including things you never use, and by the third hour of walking you can feel every strap digging into your shoulders.
There is a third failure that people talk about less. The bag is the right size but the wrong shape inside, so you spend the day reaching blindly into a deep opening, feeling for the lens you want, hoping you do not knock a lens cap loose into the bottom of the pack.
A good lightweight camera backpack solves all three at once. It carries a real working kit, it keeps the weight sensible, and it opens in a way that lets you see what you own.
How this pack is put together
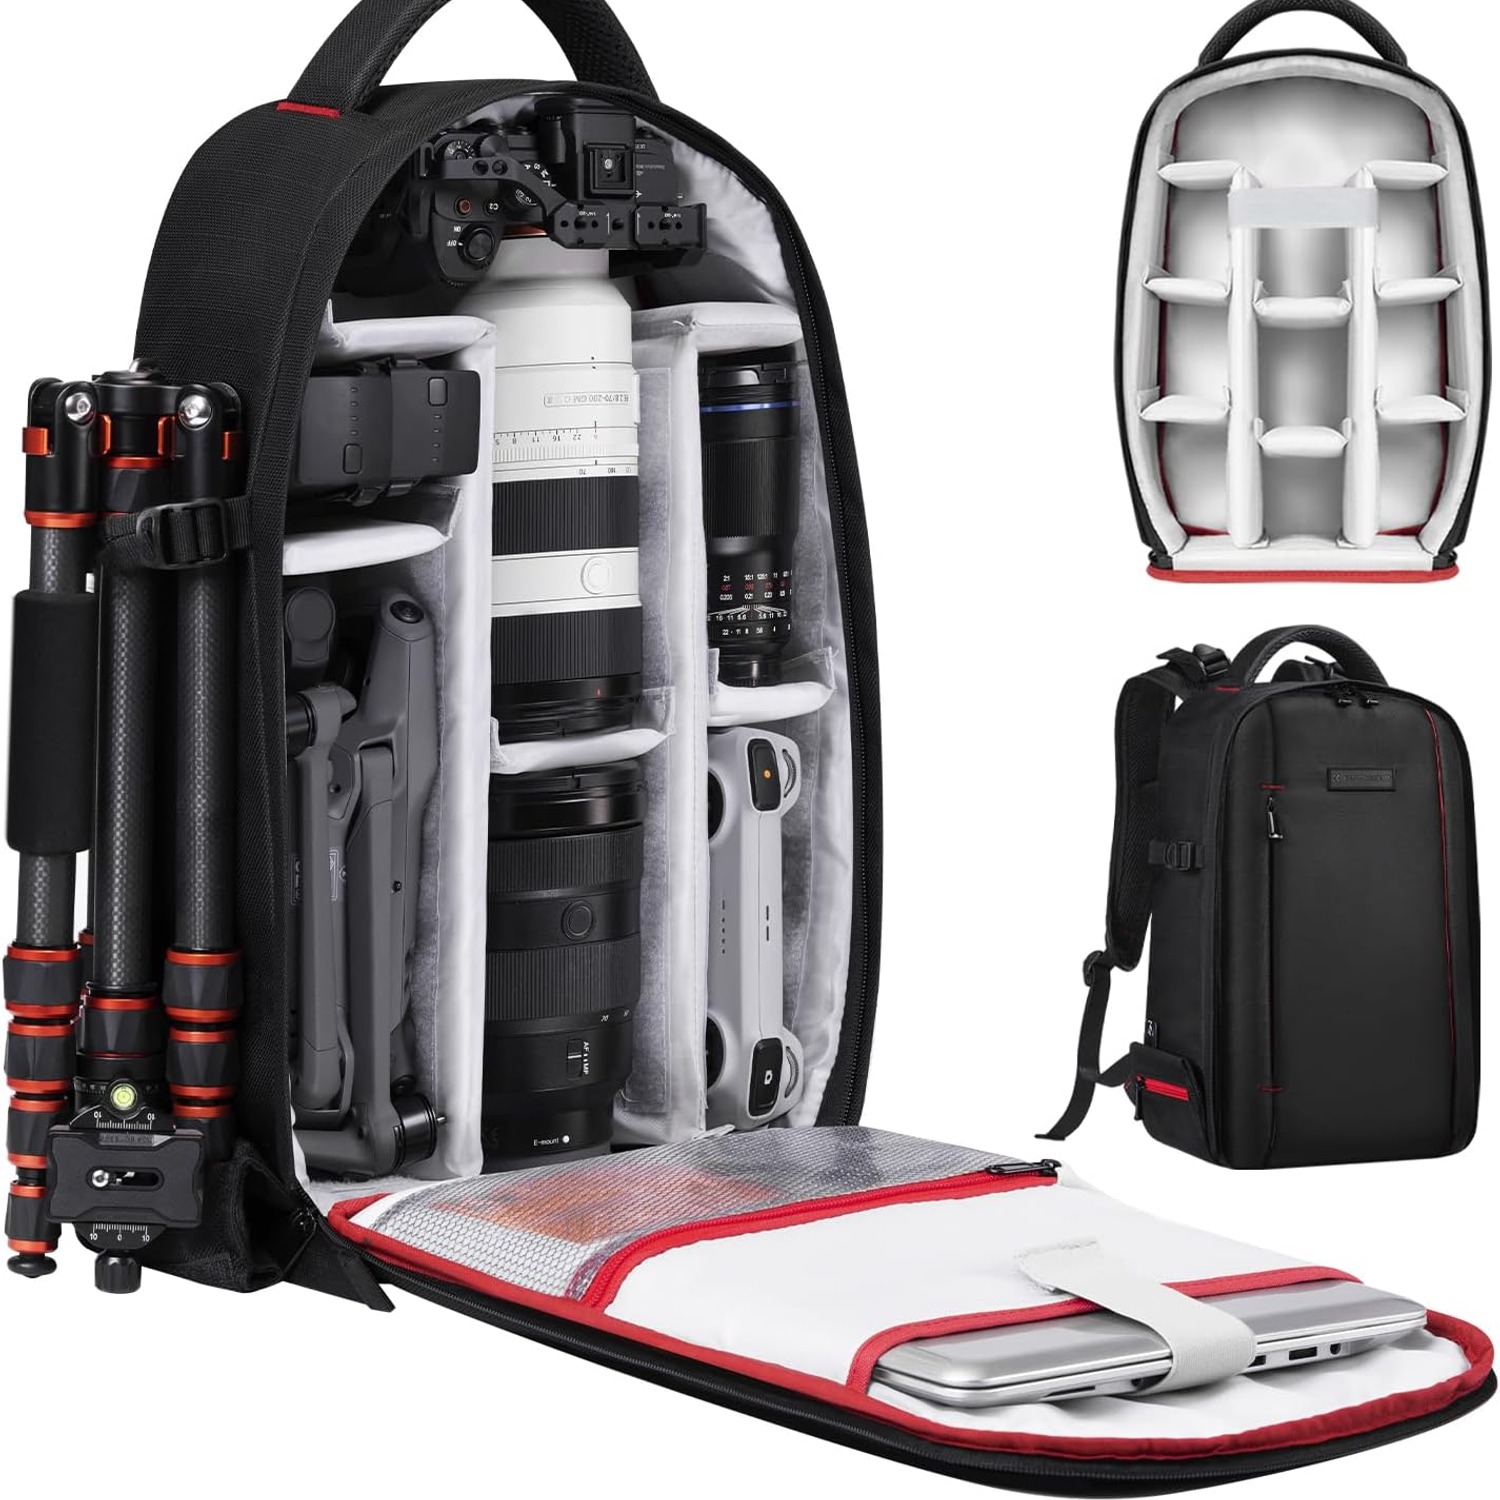
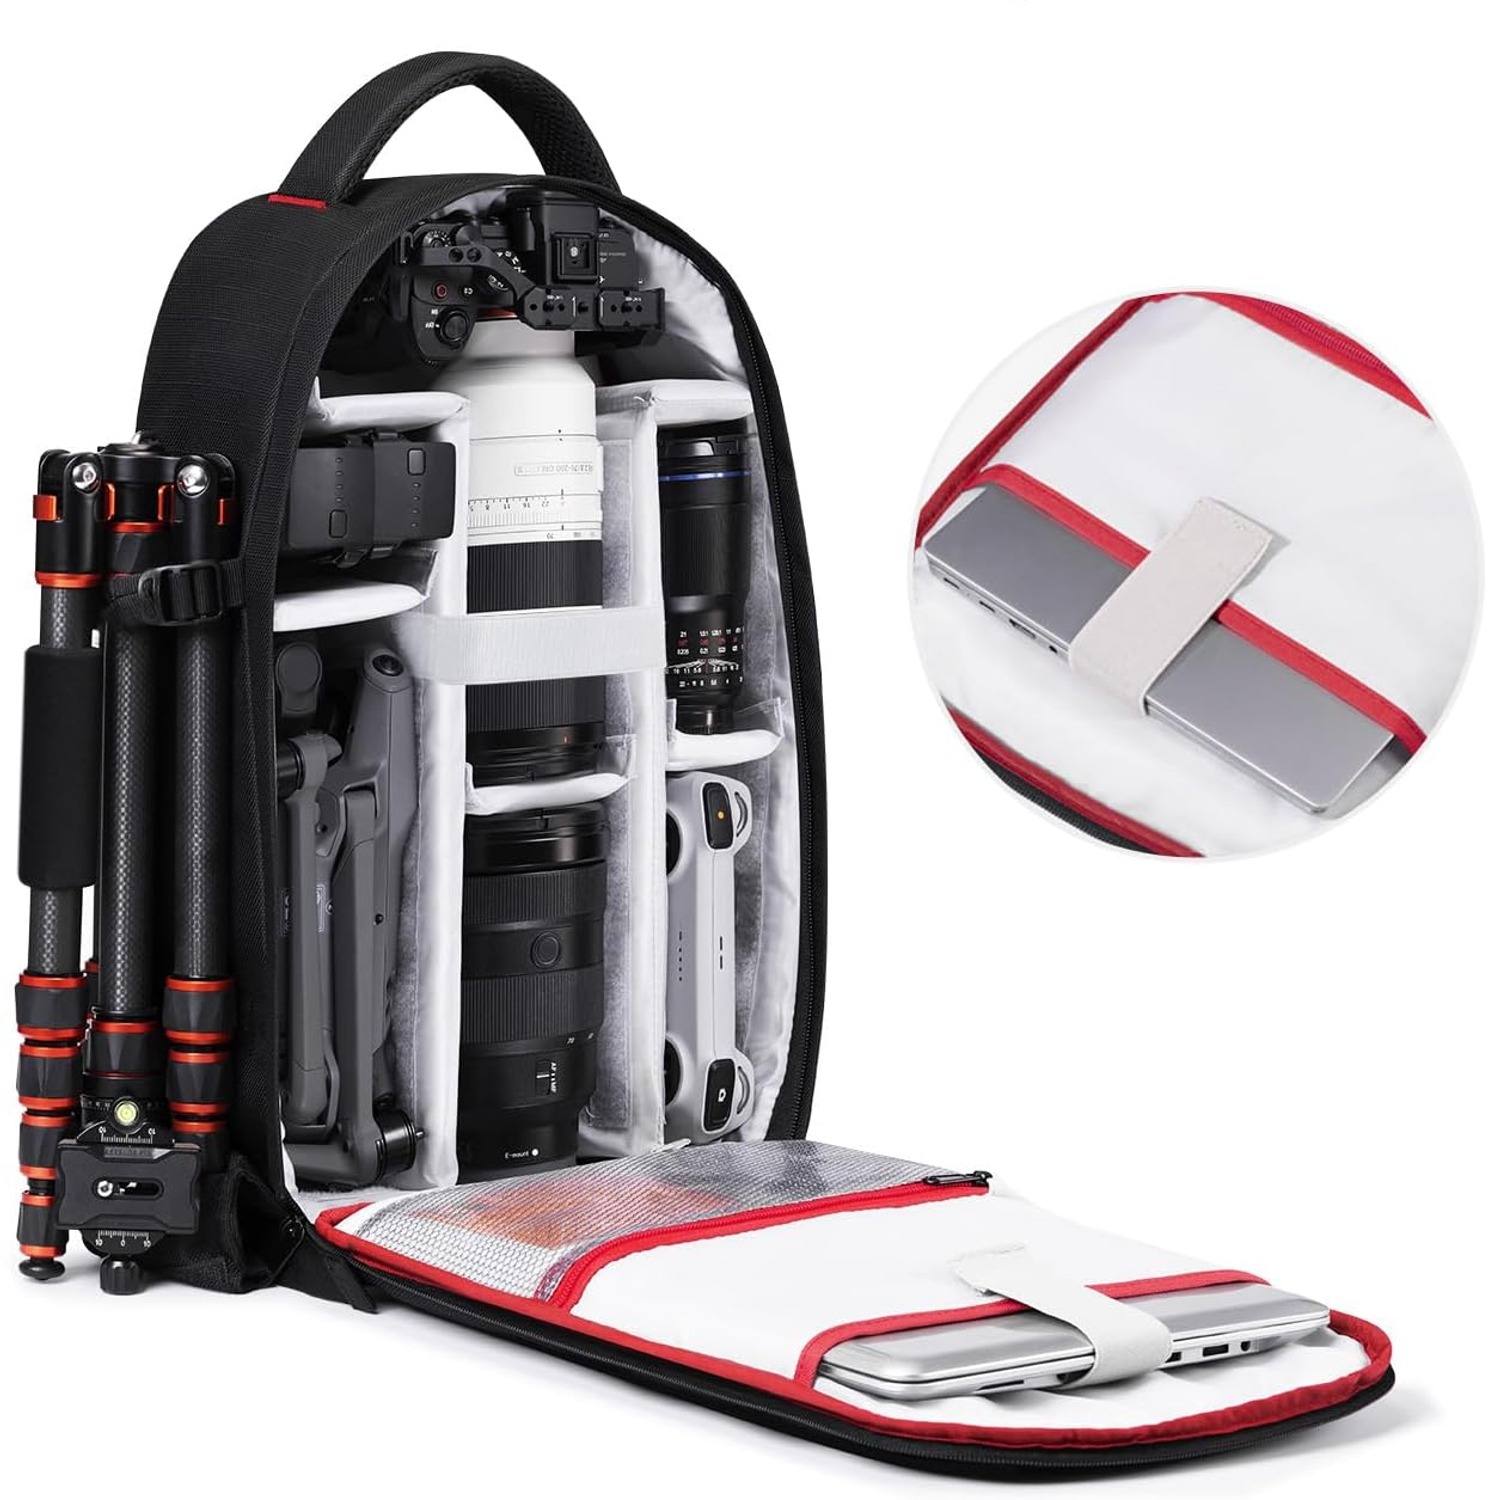
The main idea here is a 180 degree opening. The back panel folds all the way down and the inside lies flat in front of you. Instead of a hole you reach into, you get a tray you look at. Swap a 50mm for a 70-200mm, zip it shut, carry on. On a busy shoot that saves real minutes, and it saves your knees too, because you are not crouching and digging.
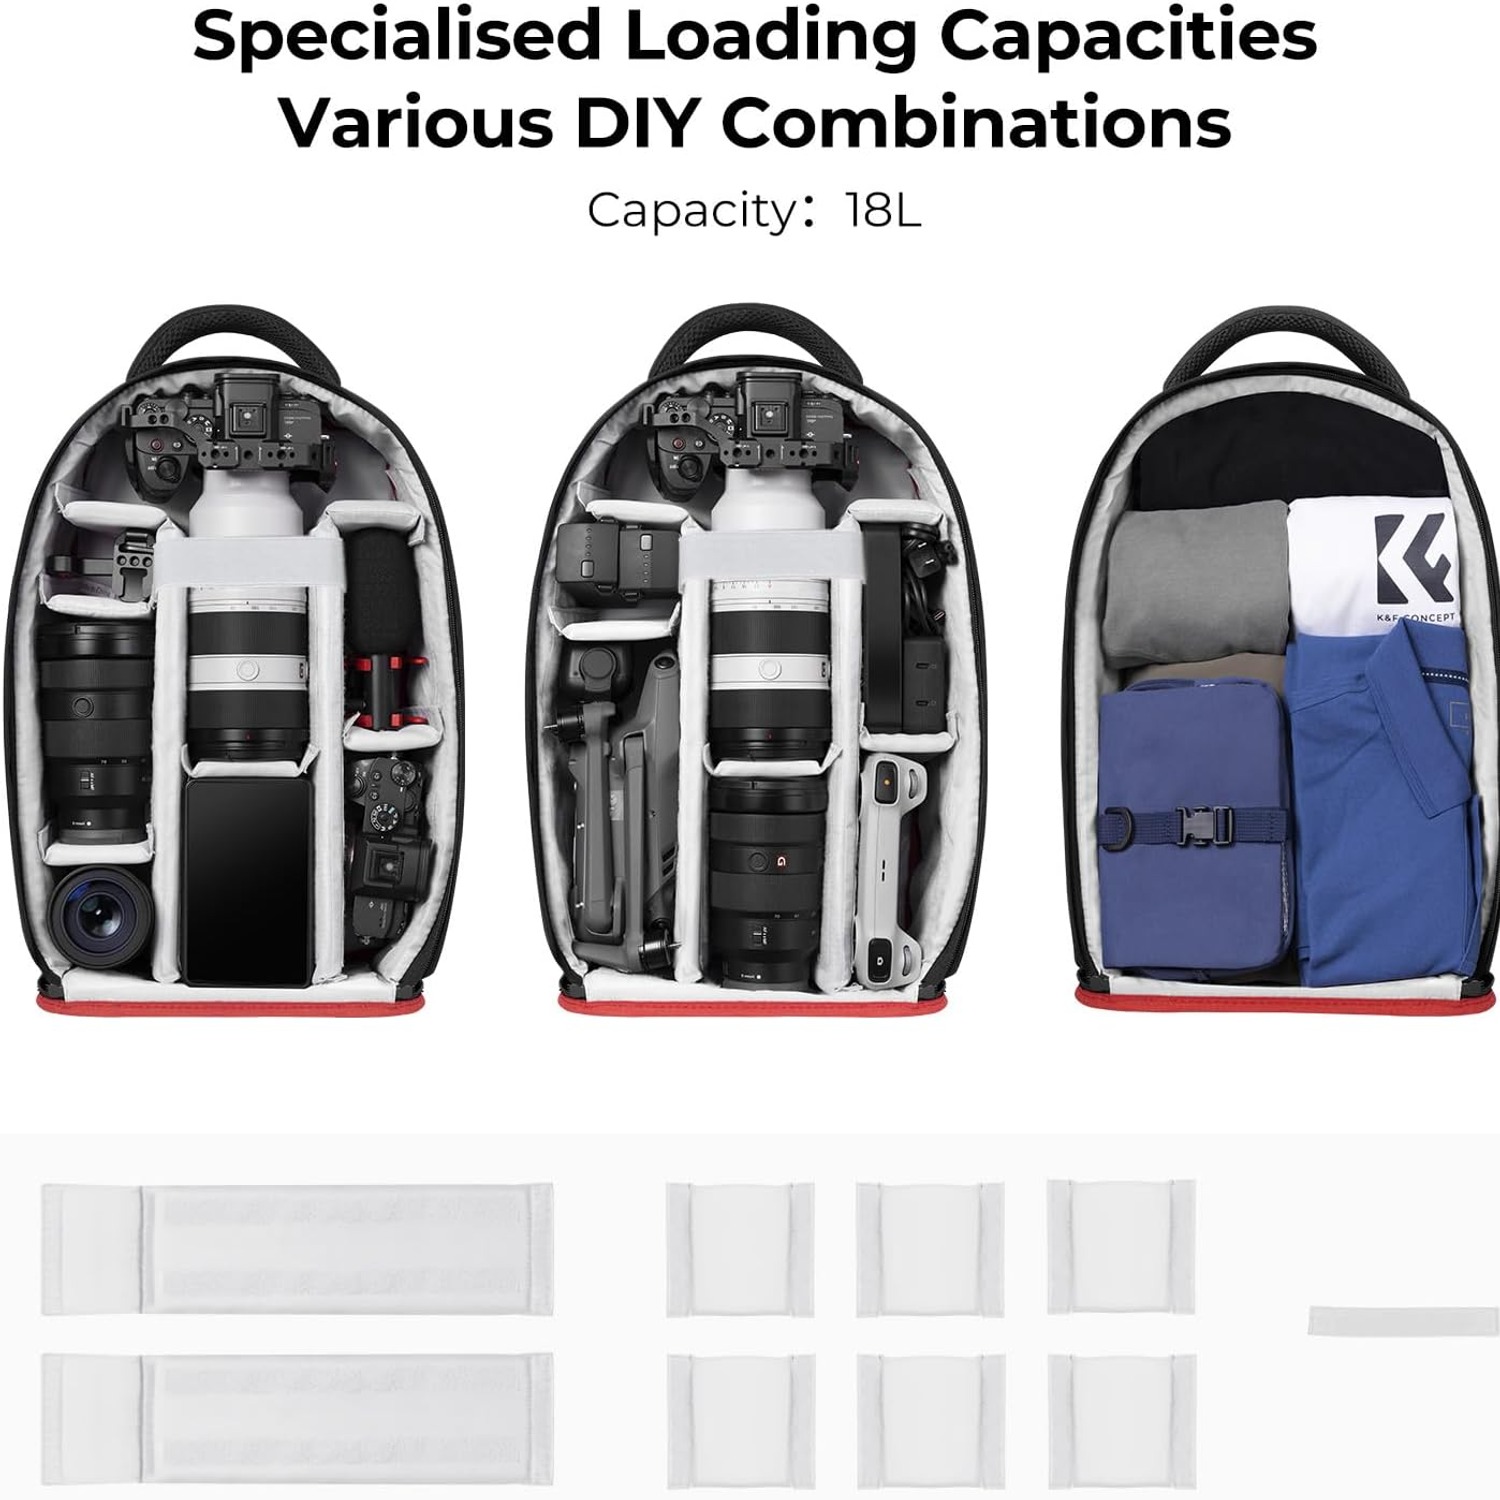
Inside, the padding is organised by movable dividers. They attach and detach, and they combine into different shapes rather than only sliding along a fixed track. That matters more than it sounds. Lenses are awkward objects. A short prime and a long zoom need very different boxes, and a divider system that only makes equal-width slots wastes space in one and squeezes the other.
The pack is built around two camera bodies and a run of lenses, with room left for the rest of a travel day. There is a sleeve for a 14 inch laptop and a separate pocket for an 11 inch tablet, so your editing kit travels in the same bag as your shooting kit. A tripod up to 55cm mounts on the outside, which keeps the padded interior for glass rather than metal legs.
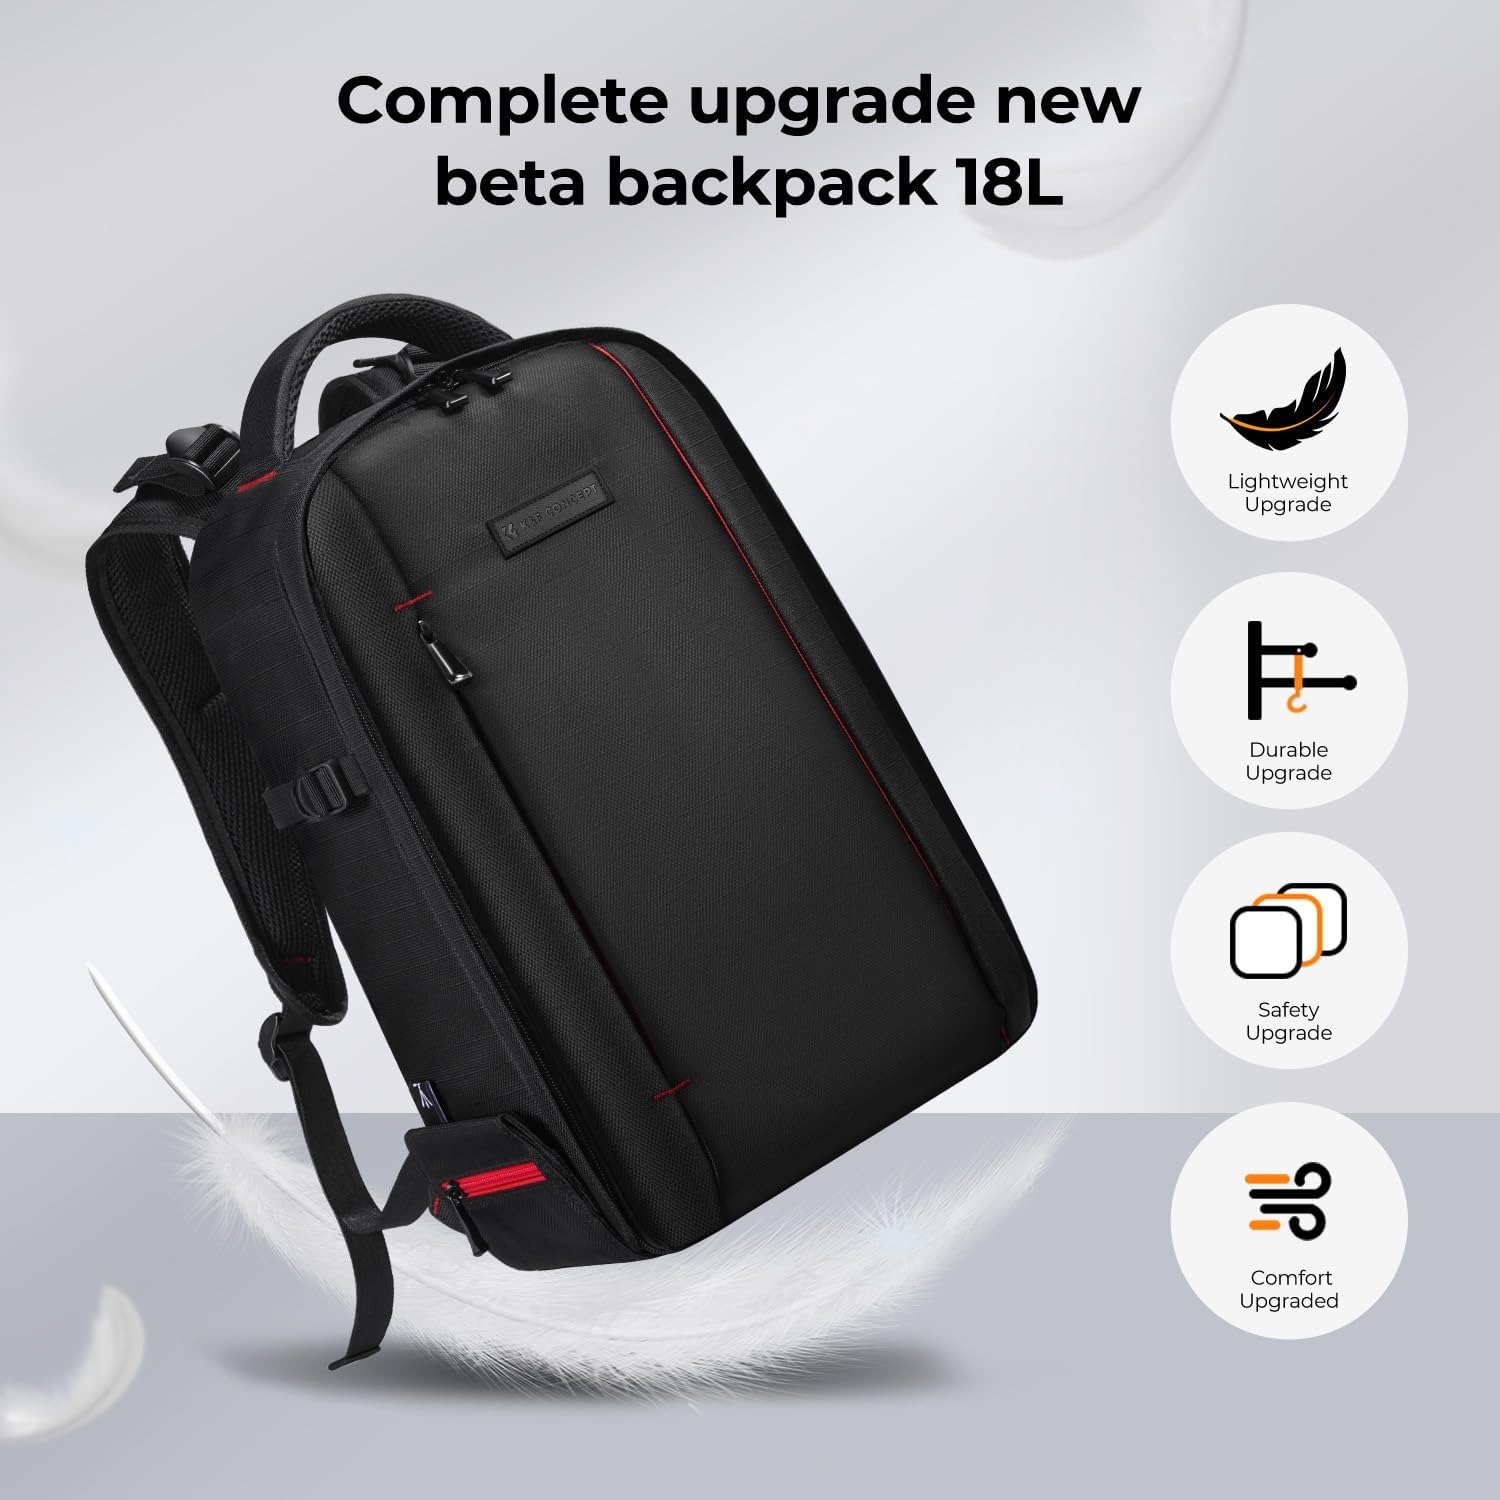
The shoulder straps are widened and padded. That is a simple thing, but it is the single biggest comfort factor on a bag this size. Narrow straps concentrate the load onto two thin lines across your shoulders. Wider straps spread the same weight over more area, and the bag feels lighter even though nothing changed on the scales.
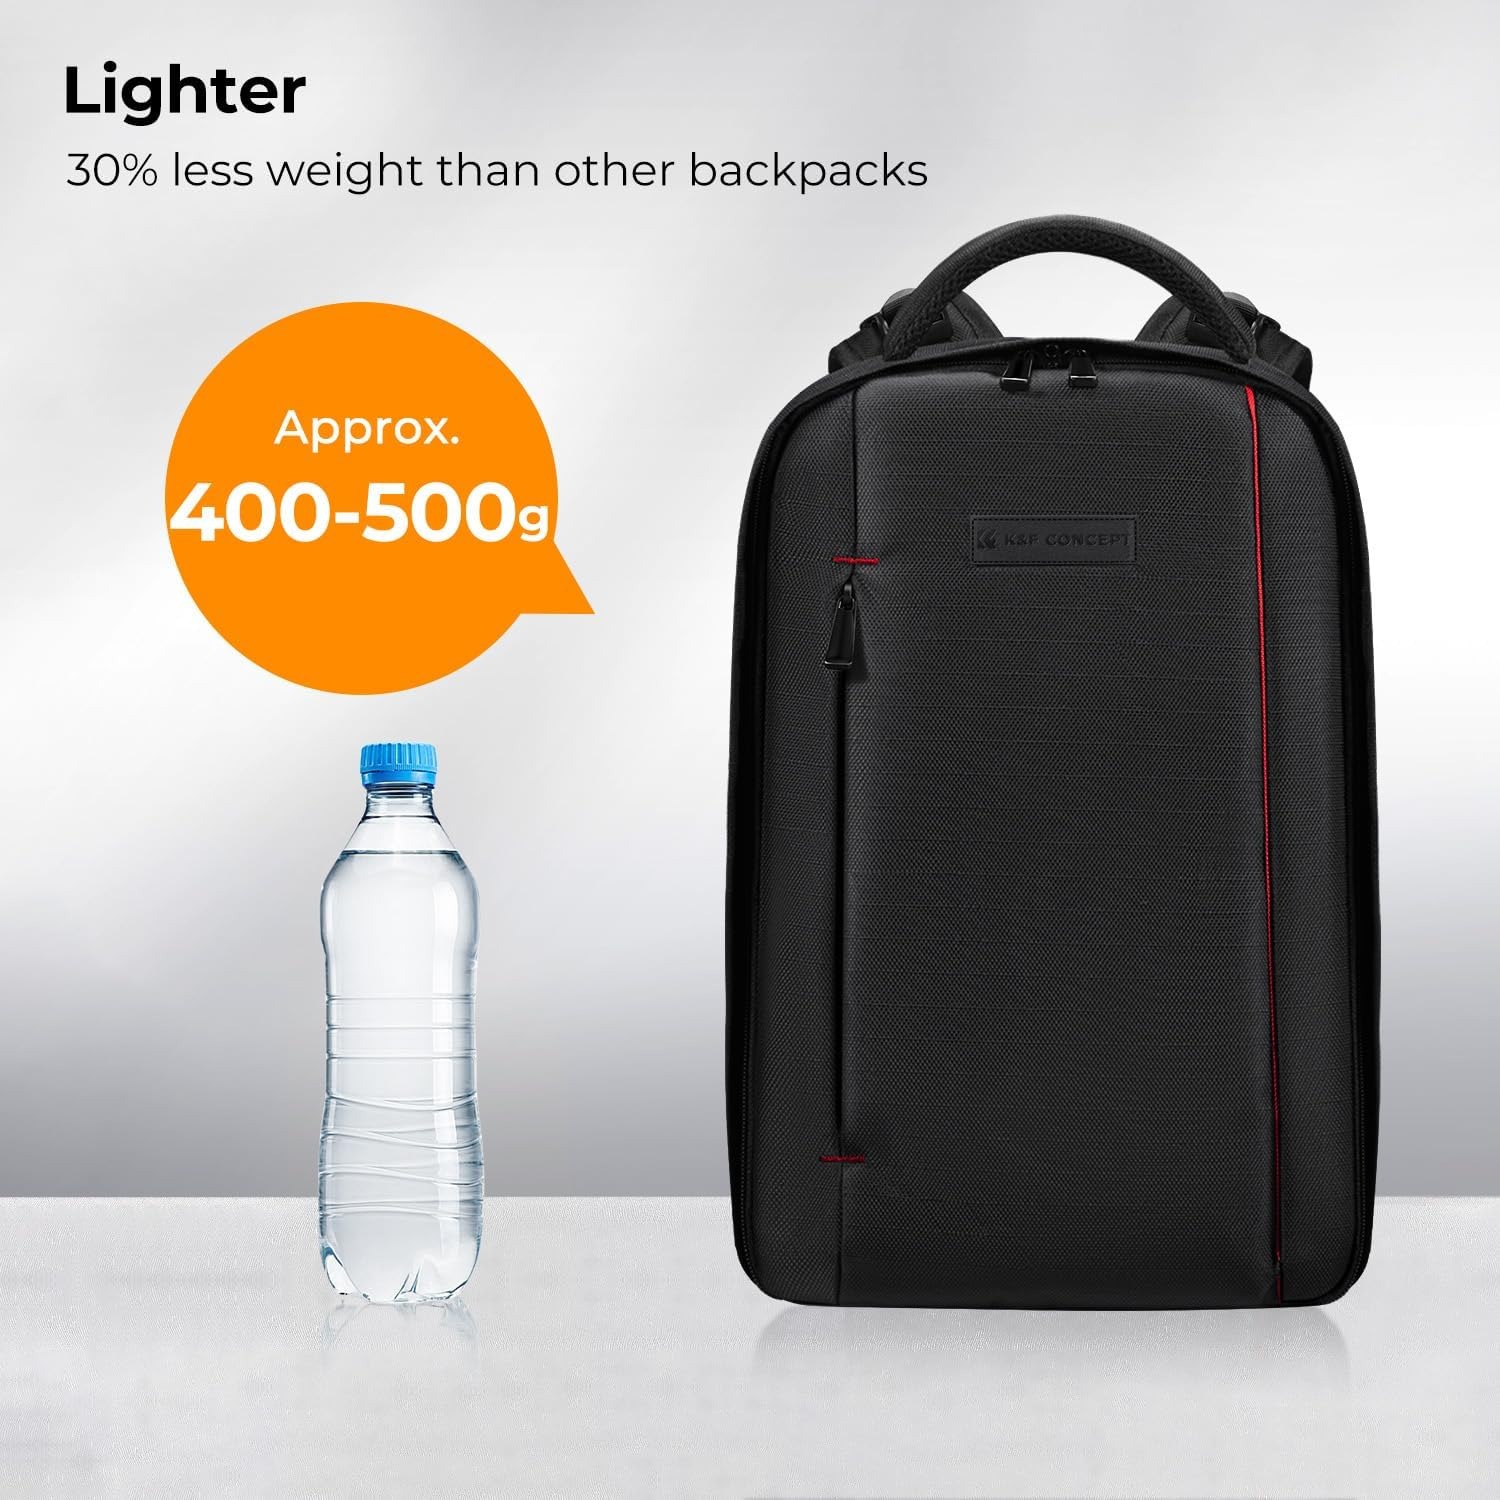
A note on the data: the maker's details does not specify the colour, the outer material or the finished weight. The listed product dimensions are 11 x 5 x 5 cm, which reads like a reference measurement rather than the open bag. We would rather tell you that than invent numbers. Use the photos for proportions and ask us if you need something confirmed.
Who it suits
Hybrid shooters. If you carry a mirrorless body for stills and a second body for video, this is exactly the shape of bag that works. Two bodies, two or three lenses, a microphone, spare batteries, and the laptop you cut on.
Travellers. As a travel camera backpack it earns its place because it does two jobs. On the plane it is your laptop bag. At the destination it is your camera bag. You are not carrying a separate pack for each.
Weekend photographers. People who shoot for pleasure rather than money often own more lenses than they carry on any one day. The adjustable interior means you pack for the day you are having, not the day the bag was designed for.
Beginners building a kit. One body and a kit lens looks lost in here at first. That is the point. In a year, when you have added a prime and a flash, the bag still works and you have not bought a second one.
It suits a few people less well. If you need a full cine rig with light stands and a large monitor, this is the wrong class of bag. If you are hiking for days with a tent, you want a proper trekking pack with a load-bearing hip belt, and your camera goes inside that.
How to choose the right size
Start with your biggest single item, not your whole collection. Usually that is a telephoto zoom or a body with a grip. If the biggest item fits with a little padding around it, everything smaller will find a home.
Then count what you genuinely carry. Lay your gear out on a table and be honest. Most photographers carry two or three lenses on a given day, not six. A bag sized for your realistic day is lighter and faster than one sized for your fantasy day.
Think about the laptop separately. A 14 inch machine fits here. If you work on a 16 inch laptop, you need a bigger bag or a second sleeve, and that changes the whole decision.
Finally, think about where the weight sits. Heavy items belong high and close to your spine. That is a packing habit rather than a bag feature, but it is the difference between a pack that feels balanced and one that pulls you backwards. Load your heaviest lens against the back panel every time and you will notice it.
Packing it well
Build the layout once, properly, rather than rearranging it every week. Put the body you reach for most in the easiest position, usually the side nearest your dominant hand when the pack is open on the ground.
Keep small items contained. Loose batteries, cards and filters migrate to the bottom and rattle. A small pouch for the little things keeps the padded sections for lenses.
Leave one empty slot. Not for gear, for life. A jumper, a water bottle, a sandwich. Bags packed to absolute capacity are miserable to use because you cannot put anything in without taking something out.
And strap the tripod on the outside, not inside. Tripod legs are hard, cold and scratchy, and they have no business sitting next to a front element.
Caring for it
The care instruction supplied with this product is hand wash only, and that is worth following. Spot clean the outer fabric with a damp cloth and a little mild soap, then let it dry naturally. Keep it away from radiators and direct sun while it dries.
Do not put it through a washing machine. The agitation and the spin cycle break down foam padding and stress the stitching at exactly the points that carry weight. Tumble drying is worse.
Between trips, empty it, shake out the dust and grit, and store it somewhere dry with the zips slightly open. Dust is the enemy of camera gear, and a bag that lives half full of sand will pass that sand straight onto your sensor.
Check the strap stitching every few months. On any pack, the junction where the shoulder straps meet the body takes the most load. Catching a loose thread early is much cheaper than catching it when a lens hits the ground.
The short version
This is a padded backpack built around a 180 degree opening and movable dividers, with room for two bodies, several lenses, a 14 inch laptop, an 11 inch tablet and a tripod up to 55cm on the outside. It is made by K&F CONCEPT, model KF13.04401, origin China, and it is hand wash only.
Buy it if you want one bag that handles the plane, the walk and the shoot, and you would rather spend your day taking photos than digging through a dark hole for a lens. If you need a sealed waterproof pack or space for a full video rig, look at a larger, heavier design instead.